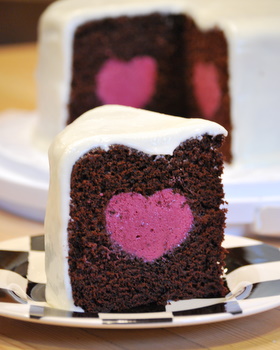
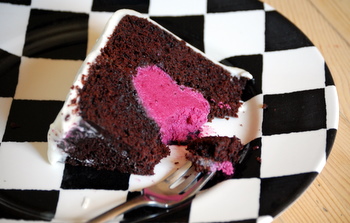
When I saw Wilton’s Tasty Fill Heart Cake Set, I knew that I wanted to try making one of the lovely heart-centered cakes myself. A cake with a heart-shaped center is perfect Valentine’s Day. After I picked up the cake pan set, all I needed to do was decide what flavor cake I wanted to make. I decided to work backwards and, knowing that I wanted a pink heart at the center of the cake, I ended up opting for a very dark-colored chocolate cake for the cake itself.
The cake pans come in a pair and you get the heart center when the two cakes are stacked on top of each other. This cake recipe fits the pans perfectly, and it rose up just to the top of them, easily filling the cavities built-in to the pans which produce the heart shape. This is a recipe that I would ordinarily use to make two thick 8-inch cake layers. There is a whole cup of cocoa powder in the cake, so it has a really delicious chocolate flavor to it. It is very moist and tender, but is not too dense and is very easy to handle the cake (it isn’t too delicate or likely to crumble as you move the pieces around). There is coffee in the cake to emphasize some of the cocoa notes, but there is no coffee flavor to the finished cake – just a lot of chocolate.
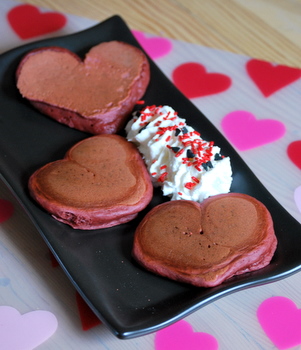
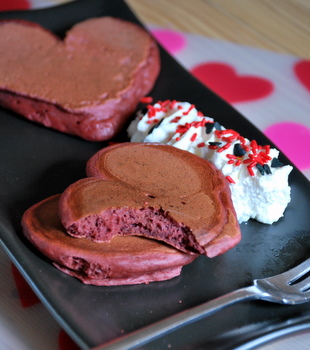
While I knew from the start that I wanted a pink filling, the hardest part of making this cake was figuring out what that filling should be. Ice cream is a good option, but not great in the wintertime, and many of the suggestions that came with the pan included Cool Whip – which I didn’t want to use. I ended up making a very light raspberry mousse, held together with a little bit of plain gelatin to give it stability. It has a great raspberry flavor, a beautiful color (black raspberries will give you a more purple color, regular will be lighter pink; I used a mixture of both) and a very light, fluffy texture to it. I used a pasteurized egg white, beaten to soft peaks, to give this mousse a lot of volume. You can actually use meringue powder as a good substitution in this case if you can’t get pasteurized eggs, so I’ve made notes about the substitution below.
The finishing touch for this cake is the cream cheese frosting on top. The creamy frosting has a nice sweetness to it that goes well with the chocolate cake. It also blends nicely with the bright raspberry flavor of the mousse. You can use other berries for the filling – strawberries, blackberries, etc. – and you can use either fresh berries or frozen, defrosted berries.
This cake should be stored in the fridge to keep the mousse filling firm. That said, the cake must be stored in an airtight container to prevent the cake from becoming dry in the fridge.
This cake didn’t disappoint me in any way. It was delicious, with a great cake, a great combination of flavors and a finished product that looked just like the cake does on the box! This is definitely a great treat for Valentine’s Day, and I like the pan enough that I’m going to have to look for other excuses to have a cake with a heart-shaped center around, too.
(more…)

 Irish food is much more than stews and
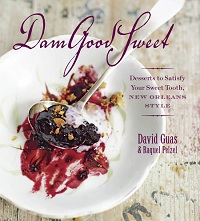 Mardi Gras starts this week and, if you’re not headed down to the Big Easy yourself, what better way to celebrate than with some New Orleans-style desserts?
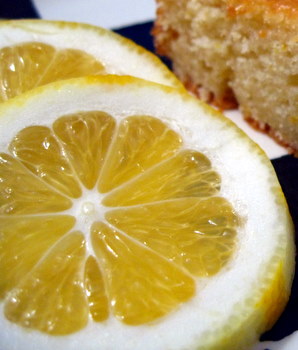 During citrus season, you start to see all kinds of recipes that call for oranges, lemons, limes and even grapefruits. You also start to notice that recipes call for specific types of citrus, such as